
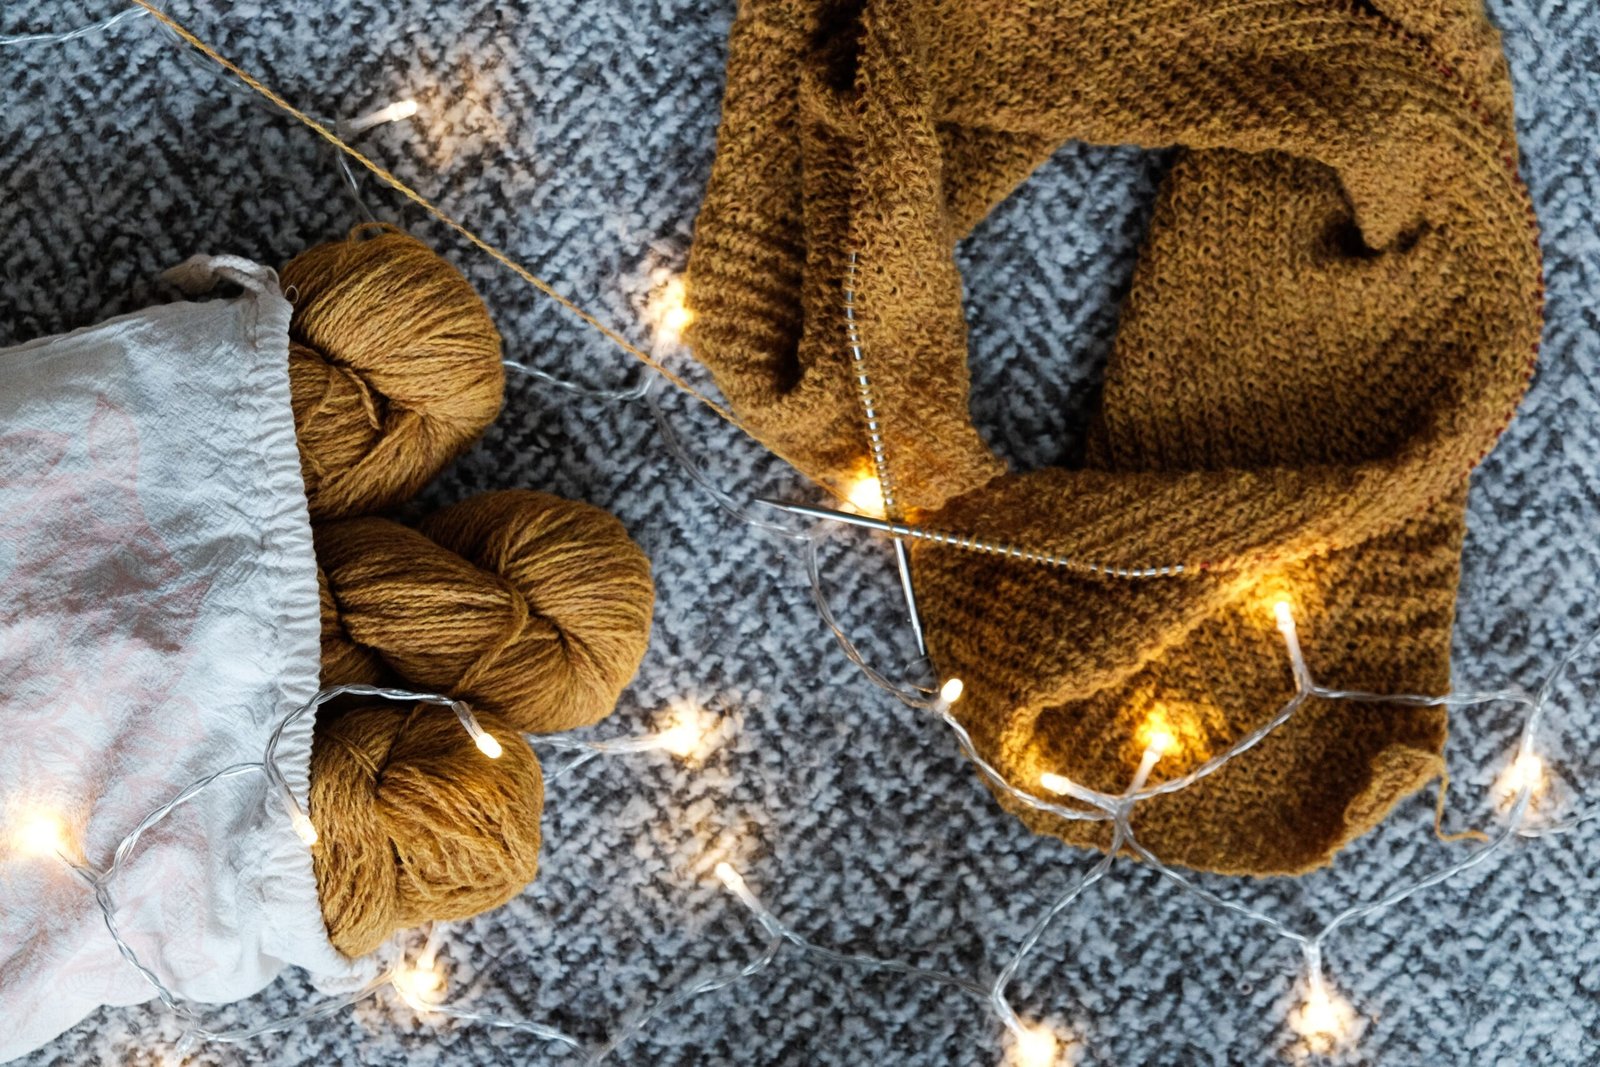
Learning how to knit a scarf is a wonderful way to begin your knitting journey. A scarf is practical, personal, and simple enough for someone who has never used knitting needles before. You do not need complicated patterns, advanced techniques, or expensive equipment to get started. With a few basic supplies and a little patience, you can turn a ball of yarn into a warm accessory that you will be proud to wear or give as a gift.
The best part is that a beginner scarf uses just a few essential skills. You will learn how to cast on stitches, make the knit stitch, work back and forth in rows, and bind off when your scarf reaches the desired length. These techniques also provide a foundation for future knitting projects, including hats, blankets, and simple sweaters.
In this guide, you will learn how to choose yarn and needles, prepare your first stitches, follow an easy scarf pattern, and finish your work neatly. You will also find practical tips for fixing common mistakes and making your first handmade scarf look its best.
1. Gather the Supplies You Need to Knit a Scarf
Before you begin knitting, gather the basic materials. You only need a few items, so there is no reason to buy a large collection of tools for your first project.
Yarn: Choose a smooth, medium-weight yarn, often labeled worsted weight or category 4. This type is usually easy to handle and makes stitches large enough to see clearly. Acrylic yarn is an affordable, beginner-friendly choice, while a wool or wool-blend yarn can provide extra warmth. Look for yarn that feels comfortable against your skin.
Knitting needles: A pair of straight needles around 5 mm to 6 mm is a useful starting point for many medium-weight yarns. However, always check the yarn label for its recommended needle size. Bamboo or wooden needles offer a little grip, which can help prevent stitches from sliding off while you learn.
Scissors: Keep a small pair of scissors nearby for cutting yarn when the scarf is finished or when you need to join a new ball.
Tapestry needle: This blunt-ended needle helps you weave loose yarn ends into the finished scarf. It gives your project a cleaner appearance and helps prevent the ends from coming undone.
Measuring tape: Use a measuring tape to check the width and length of your scarf as you work.
For a straightforward first project, choose a solid or lightly colored yarn. Very dark yarn can make individual stitches harder to see, while highly textured or fluffy yarn can hide mistakes. A simple yarn gives you a clearer view of what your hands are doing.
2. Choose the Right Scarf Size and Yarn
The size of your scarf depends on how you plan to wear it. A narrow scarf uses less yarn and is often a good choice for children or for a lightweight accessory. A wider scarf offers more coverage and can be wrapped around your neck comfortably.
For a first adult scarf, consider a finished width of approximately 5 to 8 inches and a length of around 55 to 70 inches. These are flexible guidelines rather than strict rules. You can make your scarf shorter, longer, narrower, or wider to suit your preferences.
Your yarn choice also affects the finished size and texture. Thick yarn creates a chunky scarf that grows quickly, while thinner yarn produces a lighter fabric and usually takes longer to knit.
Check the yardage listed on your yarn label before starting. A typical adult scarf may require roughly 300 to 600 yards of yarn, depending on its dimensions, the yarn weight, the stitch pattern, and your knitting tension. Larger or chunkier designs may need more. Buying enough yarn from the same color lot can help you avoid noticeable color differences if you need multiple balls.
If you are unsure how much yarn to purchase, choose a simple pattern and use its recommended yarn quantity as a starting point. You can also knit a small sample to estimate how much yarn your stitches use.
3. Learn How to Cast On Your First Stitches
Casting on means placing the first row of loops onto your knitting needle. These loops form the foundation of your scarf, so take your time and keep them even.
Start by making a slip knot. Create a loop with the yarn, pull a section of yarn through the loop, and place the new loop onto one needle. Gently pull the working yarn and tail until the knot sits securely around the needle. The loop should be snug but loose enough to slide.
Next, cast on the remaining stitches. The long-tail cast-on is a popular method because it creates a useful, relatively stretchy edge. If you already know another cast-on method, you can use that instead.
For a basic scarf using medium-weight yarn, try casting on 25 to 35 stitches. The exact number depends on your yarn, needle size, and preferred width. For this beginner pattern, cast on 30 stitches as a practical starting point.
As you make each loop, avoid pulling the yarn too tightly. Stitches that are difficult to move along the needle can make the first row frustrating. At the same time, do not leave them so loose that they become difficult to control.
Count your stitches before beginning the first row. If you intended to cast on 30 stitches, make sure you have 30 loops on the needle. Taking a moment to check now can save you from correcting mistakes later.
4. Master the Knit Stitch and Work Your First Row
The knit stitch is the main skill you need for this simple scarf. Once you understand the movement, you can repeat it across each row until your project reaches the desired length.
Hold the needle with your cast-on stitches in your left hand and the empty needle in your right hand, assuming you knit right-handed. Keep the working yarn behind your needles.
Follow these steps to make one knit stitch:
- Insert the right needle into the first stitch on the left needle, entering from the front.
- Wrap the working yarn around the right needle, moving the yarn counterclockwise.
- Use the right needle to pull the wrapped yarn through the existing stitch.
- Slide the original stitch off the left needle while keeping the new loop on the right needle.
You have now made one knit stitch. Repeat the same movement for every stitch across the row.
When all the stitches have moved to the right needle, turn your work. The needle holding the completed row should now be in your left hand, and the empty needle should be in your right. Knit across the next row in exactly the same way.
This method creates garter stitch, a textured fabric with soft horizontal ridges. Garter stitch is especially suitable for a beginner scarf because it uses only the knit stitch and generally lies flatter than stockinette stitch.
Do not worry if your first few rows look uneven. Your hands need time to become familiar with the movement. Focus on making each stitch correctly rather than trying to knit quickly.
5. Follow This Easy Beginner Scarf Knitting Pattern
Once you can knit a row, most of the scarf becomes a repeating routine. This simple pattern is designed for beginners and does not require increases, decreases, or complicated instructions.
Pattern details
- Skill level: Beginner
- Stitch pattern: Garter stitch
- Suggested yarn: Medium-weight yarn
- Suggested needles: Size recommended on your yarn label, often around 5 mm
- Cast-on count: 30 stitches
- Suggested finished size: Approximately 5 to 7 inches wide and 60 inches long, depending on your tension
Instructions
Step 1: Cast on 30 stitches. Check your stitch count before moving on.
Step 2: Knit every stitch across the first row. Use the knit stitch instructions above, keeping the yarn behind the needles.
Step 3: Turn your work. Move the needle with the completed row to your left hand and place the empty needle in your right hand.
Step 4: Knit every stitch across the next row. Repeat the same process without changing the stitch pattern.
Step 5: Continue knitting every row. Keep repeating until your scarf reaches your preferred length. For a classic adult scarf, around 60 inches is a reasonable target.
Step 6: Measure your work regularly. Lay the scarf flat on a table and measure from the cast-on edge. Avoid stretching the fabric while measuring.
This is the entire main pattern: cast on 30 stitches, knit every row, and continue until the scarf is long enough. If you want a wider scarf, cast on more stitches. If you prefer a narrower design, cast on fewer stitches.
For your first few rows, count the stitches at the end of each row. If you consistently have 30 stitches, you are less likely to have accidentally added or dropped one. Once your knitting becomes more even, you can check your count less often.
6. Keep Your Stitches Even and Fix Common Mistakes
Every new knitter makes mistakes. A dropped stitch, an uneven edge, or a row that looks slightly different does not mean your scarf is ruined. Most small problems can be corrected, and some irregularities will become less noticeable as you gain experience.
If your stitches are too tight: Relax your grip and allow the loops to move along the needles. Avoid pulling the working yarn sharply after every stitch. Your stitches should be secure but not difficult to knit into on the next row.
If your stitches are too loose: Try to maintain a consistent distance between the needles and use gentle, even tension on the working yarn. Do not pull so tightly that the fabric becomes stiff.
If your scarf becomes wider or narrower: Count the stitches at the end of a row. An accidental extra loop can increase the width, while a dropped stitch can make the scarf narrower. Correcting the problem early is usually easier than fixing it many rows later.
If you drop a stitch: Stop knitting and inspect the fabric. A dropped stitch may begin to unravel into a vertical ladder. If you can safely identify the loose loop, place it back on the needle with its legs oriented correctly. A crochet hook can also help you work a dropped stitch back up through the rows. If you are not sure how to repair it, secure the loop temporarily so it does not unravel further and seek a beginner tutorial for your stitch pattern.
If the edges look uneven: Try not to tug at the first or last stitch of every row. Keep your movements consistent and count your stitches. Uneven edges are common during a first project and often improve with practice.
If the scarf curls: Garter stitch normally resists curling, so check that you are knitting every row rather than accidentally switching between knit and purl rows. Some yarns and tension patterns can still affect the edges. Gentle blocking after knitting may help the fabric lie more evenly.
Most importantly, give yourself time. Knitting is a repeated hand movement, and consistency develops through practice rather than speed.
7. Bind Off and Finish Your Scarf Neatly
When your scarf reaches the desired length, it is time to bind off, also called casting off. This final step secures the live stitches so the scarf does not unravel.
Knit the first two stitches of your final row. Then use the left needle to lift the first stitch on the right needle over the second stitch and off the needle. You should have one stitch remaining on the right needle.
Knit the next stitch, then lift the previous stitch over the new stitch and off the needle. Continue this process across the row until only one stitch remains.
Cut the yarn, leaving a tail of about 6 inches. Pull the tail through the final loop and gently tighten it to secure the edge. Avoid binding off too tightly, as a tight edge can pull the end of your scarf inward and make it narrower than the rest of the fabric.
Next, thread the yarn tail from the beginning of your scarf and the tail from the bind-off onto a tapestry needle. Weave each tail through several stitches on the back of the fabric, changing direction slightly to help secure the yarn. Trim any excess after the ends are tucked away.
You can also add fringe if you like a traditional scarf style. Cut several equal lengths of yarn, fold each length in half, and use a crochet hook to pull the folded loop through a stitch along one short edge. Pass the loose ends through the loop and tighten gently. Repeat at intervals across both ends, then trim the fringe to an even length.
Blocking is an optional finishing step that can improve the appearance of some knitted scarves. Follow the care instructions for your yarn. For washable fibers, you may be able to dampen the scarf gently, shape it flat to the desired dimensions, and let it dry completely. Avoid wringing or hanging a wet scarf, as this can stretch the fabric. If your yarn requires special care, follow its label instead.
8. Care for Your Handmade Scarf and Try New Designs
After spending time knitting your scarf, proper care can help it stay comfortable and attractive. The best cleaning method depends on the fiber, so always check the yarn label before washing.
Many acrylic scarves can be machine washed on a gentle cycle, although the label should guide your choice of temperature and drying method. Wool scarves may require hand washing with a suitable wool detergent and cool water. Press out excess water gently without twisting the fabric, then dry the scarf flat if recommended.
Store your scarf clean and completely dry. Folding it in a drawer or on a shelf can help it keep its shape. Avoid placing heavy items on delicate knitted fabric for long periods.
Once you finish your first scarf, you can experiment with different styles. Try a wider scarf for extra warmth, chunky yarn for a bold texture, or two colors for stripes. You can also learn the purl stitch and combine it with the knit stitch to create ribbing, seed stitch, and other beginner-friendly patterns.
If you want to make a scarf as a gift, think about the recipient’s preferred colors, the climate they live in, and whether they need an easy-care material. A soft, washable yarn can be especially useful for everyday accessories.
The most important lesson is that your first scarf does not have to be perfect. Slight variations in stitch size are a normal part of learning. With each row, you are developing the skills needed for more advanced knitting projects.
Frequently Asked Questions
How long does it take to knit a scarf?
It depends on your knitting speed, yarn thickness, scarf size, and how often you work on it. A beginner may need several days or a few weeks of short sessions. Chunky yarn and a simple stitch pattern can make the project grow faster.
Can I knit a scarf if I have never knitted before?
Yes. A simple garter-stitch scarf is a good first project because it requires only casting on, knitting, and binding off. You can learn each skill separately before putting them together.
How many stitches should I cast on for a scarf?
For medium-weight yarn, 25 to 35 stitches can be a useful starting range for a narrow scarf. The best number depends on your yarn, needles, and desired width. Knit a small sample if you want a more predictable result.
What is the easiest stitch for a scarf?
Garter stitch is one of the easiest options. You knit every row, creating a ridged fabric that is reversible and generally lies flat.
How do I stop my scarf from getting wider as I knit?
Count your stitches at the end of each row, especially while learning. Keep an eye out for accidental yarn overs or extra loops near the edges, and make sure you are not dropping stitches.
Do I need to block my first scarf?
Not always. Blocking can help even out stitches and improve the shape, but it is optional for many simple scarves. Choose a method that is safe for the fiber in your yarn.
Final Thoughts
Learning how to knit a scarf is easier when you break the project into small steps. Start with suitable yarn and needles, cast on a manageable number of stitches, and practice knitting every row. Measure your work as it grows, correct mistakes when you notice them, and finish with a loose bind-off and neatly woven ends.
Your first scarf is more than a useful accessory. It is a chance to build confidence, develop a new skill, and create something by hand. Take your time, enjoy the process, and remember that every experienced knitter started with a first stitch.